

Apically Repositioned Flap Around Implants: Step-by-Step
Introduction
The success of dental implants depends not only on osseointegration but also on the quality and quantity of surrounding soft tissue. One critical factor is the presence of adequate keratinized mucosa around implants, which enhances plaque control, reduces inflammation, and improves patient comfort.
The Apically Repositioned Flap (ARF) is a predictable surgical technique designed to increase keratinized tissue width and deepen the vestibule around implants. This article provides a comprehensive, step-by-step guide to performing the Apically Repositioned Flap around implants, based on clinical best practices.
What is an Apically Repositioned Flap?
An Apically Repositioned Flap is a mucogingival surgical procedure that repositions a flap of keratinized tissue apically (toward the root or bone) to increase the zone of keratinized mucosa.
Key objectives:
- Enhance peri-implant hygiene.
- Improve long-term implant stability.
- Facilitate prosthetic maintenance.
Indications:
- Lack of keratinized mucosa around implants.
- Shallow vestibule causing discomfort during oral hygiene.
- Peri-implant mucositis risk due to poor plaque control.
Why Use Apically Repositioned Flap Around Implants?
Implants placed in areas with minimal keratinized tissue are prone to complications such as:
- Increased plaque accumulation.
- Soft tissue inflammation.
- Patient discomfort during brushing.
Studies show that a minimum of 2 mm of keratinized mucosa is beneficial for peri-implant health. The ARF technique is less invasive than free gingival grafts and provides predictable results without a second surgical site.
Pre-Surgical Assessment and Planning
Before performing the procedure:
- Clinical Evaluation: Measure keratinized tissue width and vestibular depth.
- Radiographic Assessment: Confirm implant position and bone levels.
- Patient Preparation: Explain the procedure, obtain informed consent, and ensure good oral hygiene.
- Instruments Required: Scalpel blades (#15C), periosteal elevator, sutures (4-0 or 5-0), surgical scissors.
Step-by-Step Guide to Apically Repositioned Flap Surgery
(Main keyword included)
Step 1: Incision Design
- Make a horizontal incision along the mucogingival junction, preserving as much keratinized tissue as possible.
- Add two vertical releasing incisions extending into the alveolar mucosa for flap mobility.
Step 2: Flap Reflection
- Elevate a partial-thickness flap to maintain periosteal blood supply.
- Carefully separate the flap from the underlying tissue without perforation.
Step 3: Implant Exposure and Site Preparation
- If the implant is submerged, remove the cover screw and place a healing abutment.
- Smooth any irregular bone if necessary.
Step 4: Apical Repositioning and Suturing
- Reposition the flap apically to the desired level.
- Secure the flap to the periosteum using sling or interrupted sutures to prevent relapse.
Step 5: Post-Operative Care
- Prescribe analgesics and chlorhexidine rinses.
- Advise soft diet and gentle hygiene around the surgical site.
Clinical Tips for Successful Apically Repositioned Flap
- Ensure tension-free flap positioning to avoid necrosis.
- Maintain adequate blood supply by preserving the periosteum.
- Use stabilization sutures for predictable healing.
- Avoid excessive thinning of the flap to prevent tearing.
Post-Operative Healing and Maintenance
- Healing Timeline: Initial healing occurs in 1–2 weeks; complete maturation in 4–6 weeks.
- Follow-Up: Remove sutures after 10–14 days.
- Maintenance: Reinforce oral hygiene and schedule regular professional cleanings.
Conclusion
The Apically Repositioned Flap around implants is a reliable, minimally invasive technique to increase keratinized tissue and improve peri-implant health. By following the steps outlined in this guide, clinicians can achieve predictable outcomes and enhance patient satisfaction.
References:
- American Academy of Periodontology (AAP)
- European Federation of Periodontology (EFP)
Frequently Asked Questions (FAQ)
1. What is the purpose of an Apically Repositioned Flap around implants?
The main goal is to increase the width of keratinized mucosa and deepen the vestibule around dental implants, which improves oral hygiene and long-term implant stability.
2. Is the Apically Repositioned Flap procedure painful?
The procedure is performed under local anesthesia, so patients typically experience minimal discomfort during surgery. Mild post-operative soreness can occur but is manageable with prescribed medications.
3. How long does it take for the surgical site to heal?
Initial healing occurs within 1–2 weeks, while complete tissue maturation usually takes 4–6 weeks.
4. Can this technique be combined with other soft tissue grafting procedures?
Yes, in cases of severe mucosal deficiency, ARF can be combined with free gingival grafts or connective tissue grafts for enhanced results.
5. How much keratinized tissue is ideal around implants?
Research suggests that at least 2 mm of keratinized mucosa is beneficial for maintaining peri-implant health and reducing inflammation.
Recent Articles
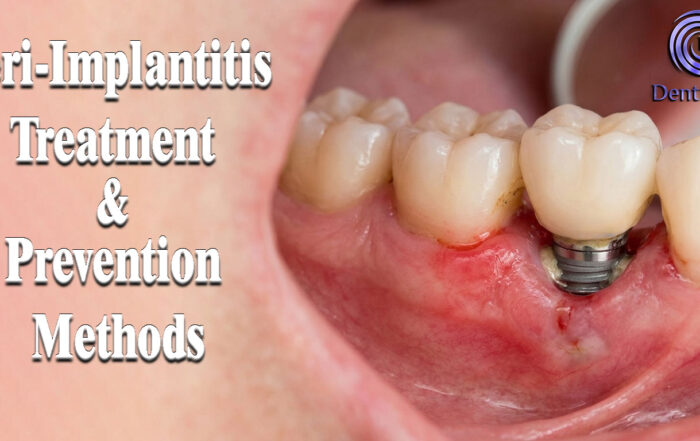
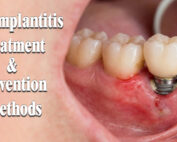
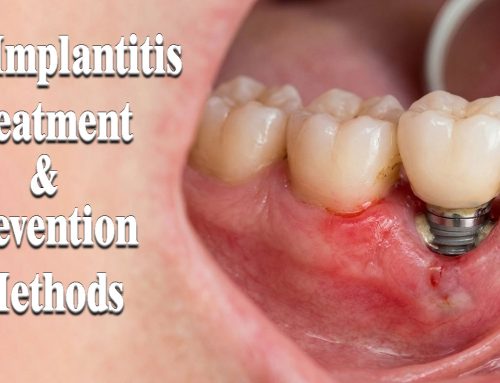
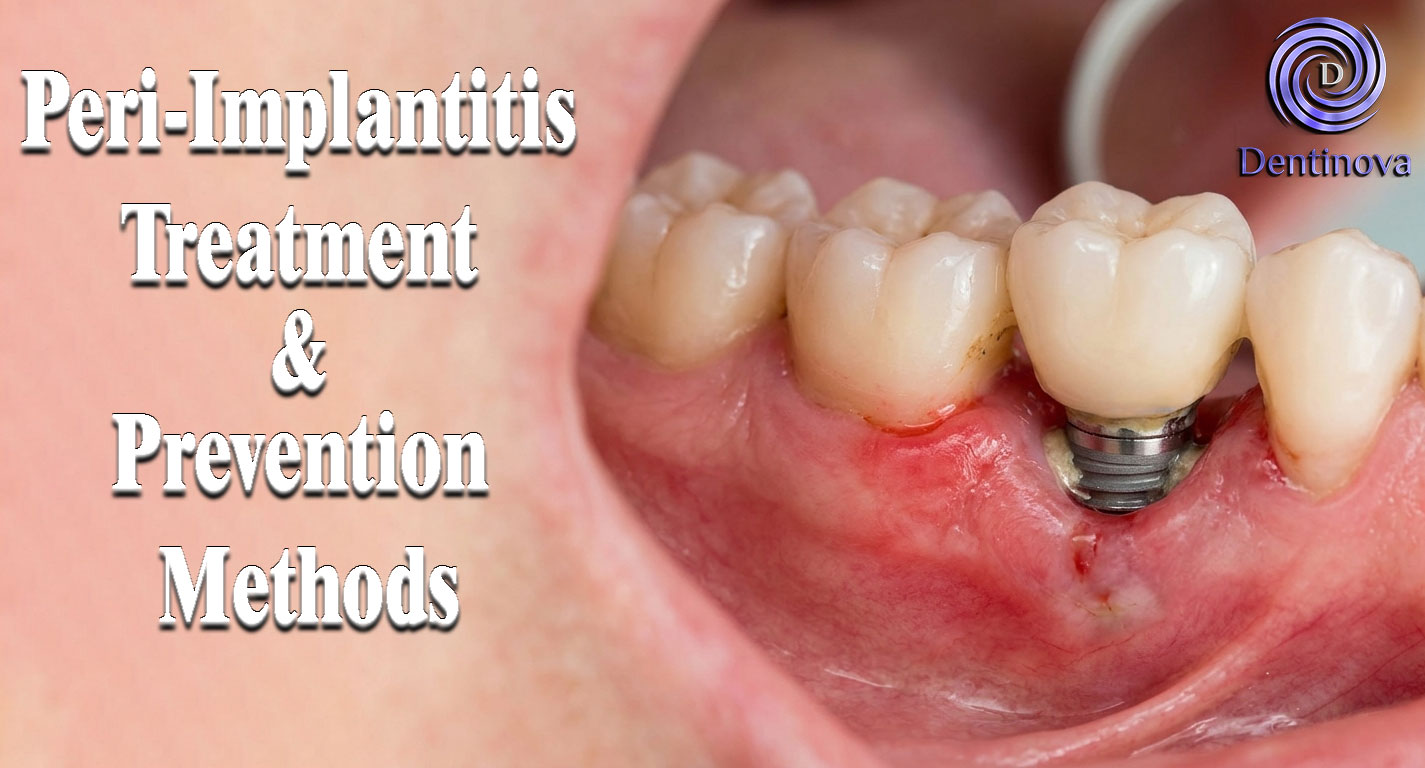
Peri-Implantitis Treatment & Prevention Methods
Peri-Implantitis Treatment & Prevention Methods Peri-implantitis remains one of the most significant biological complications affecting dental implants, posing a serious threat to long-term implant [...]
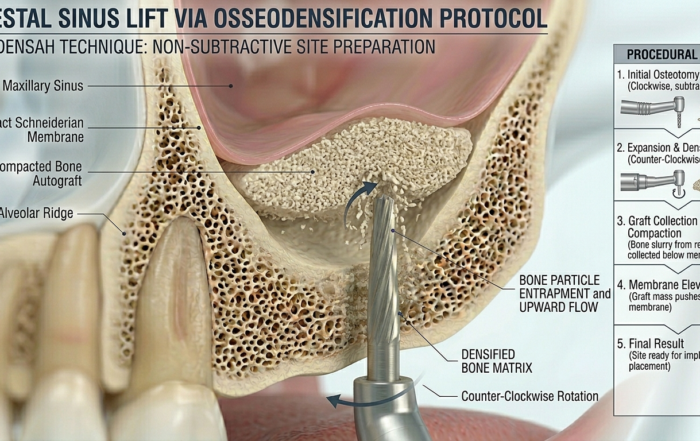
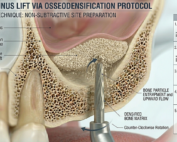
Latest Sinus Lifting Techniques in Modern Implant Dentistry
Latest Sinus Lifting Techniques in Modern Implant Dentistry A Comprehensive Clinical Review Introduction to Sinus Lifting in Implantology Sinus lifting, or maxillary sinus floor [...]
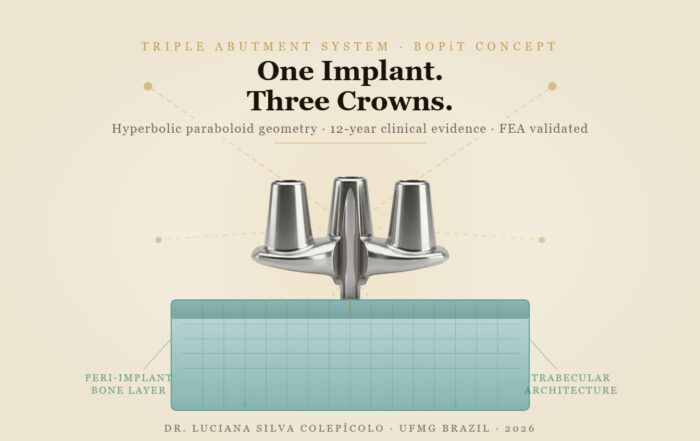
Biomechanics of the Triple Abutment & BOPiT Concept
Dental Biomechanics · Implant Science · Clinical Evidence Biomechanics of the Triple Abutment & BOPiT Concept How a saddle-shaped mathematical surface is rewriting the rules of load distribution [...]
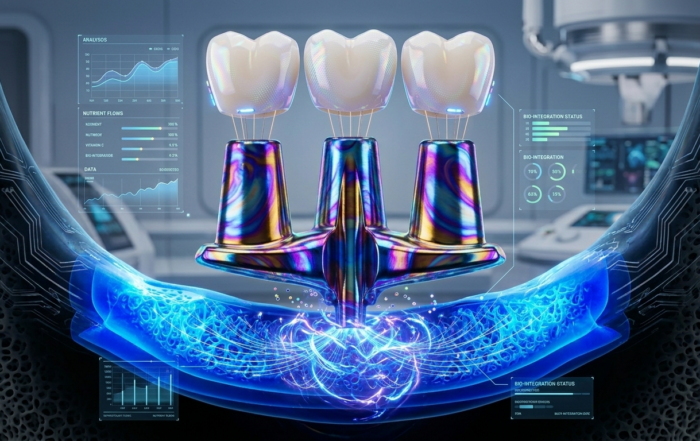
The Woman Who Proved One Implant Could Hold Three Crowns
The Woman Who Proved One Implant Could Hold Three Crowns While the dental establishment looked away, Dr. Luciana Colepícolo spent 12 years building the [...]
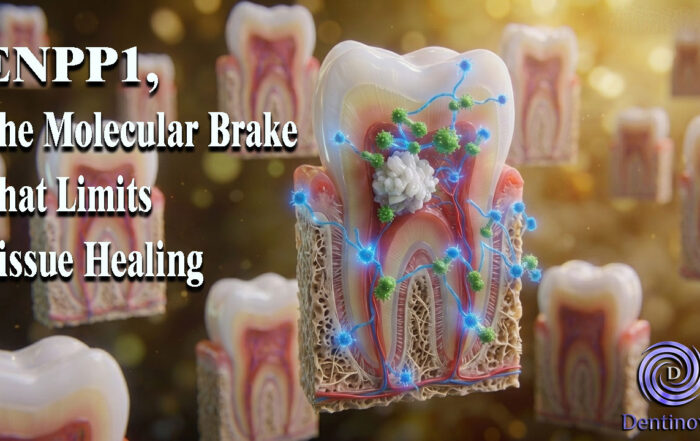
ENPP1, The Molecular Brake That Limits Tissue Healing
ENPP1, The Molecular Brake That Limits Tissue Healing Introduction: A New Biological Barrier to Dental Regeneration Meet ENPP1—a protein most dentists have never heard [...]

The Rise of Self‑Healing Dental Biomaterials
The Rise of Self‑Healing Dental Biomaterials Introduction In modern restorative dentistry, durability and longevity of materials remain among the greatest clinical challenges. Traditional dental [...]
