
Esthetic Dental Veneers : A Step-by-Step Preparation
What Are Dental Veneers?
Dental veneers are thin, custom-made shells of tooth-colored material that are bonded to the front surface of teeth to improve their appearance. They are primarily used in cosmetic dentistry to correct issues like:
Discoloration or deep stains
Worn-down or chipped teeth
Misalignment or uneven tooth shape
Gaps between teeth
Minor crowding or rotation
Types of Dental Veneers :
Porcelain Veneers :
Made from high-strength ceramic (e.g., lithium disilicate or feldspathic porcelain)
Superior aesthetics due to translucency and natural enamel-like appearance
Stain-resistant and durable
Requires minimal to moderate tooth preparation
Composite Veneers :
Made from tooth-colored resin material
Can be applied directly (chairside) or fabricated indirectly in a lab
Less expensive, but not as durable or stain-resistant as porcelain
Suitable for minor corrections
How They Work:
The procedure typically involves:
Initial assessment and smile design
Minimal enamel reduction (usually 0.3–0.7 mm)
Impression or digital scan
Fabrication in a dental lab
Try-in and adjustment
Adhesive bonding and final polishing
Benefits of Dental Veneers :
Natural-looking smile enhancement
Conservative compared to crowns (preserves more tooth structure)
Long-lasting results (porcelain veneers can last 10–15+ years)
Boost in patient confidence and oral esthetics
Step-by-Step Guide to Dental Veneers
In modern fixed prosthodontics, esthetic dental veneers represent the pinnacle of conservative, highly aesthetic smile design. The demand for minimally invasive procedures and natural-looking results has increased the reliance on ceramic laminate veneers as a treatment of choice for anterior tooth restoration.
Achieving long-lasting, functional, and aesthetically superior results depends on a systematic approach. In this article, we break down the step-by-step protocol for the preparation, isolation, and bonding of esthetic veneers; a workflow that ensures predictability and precision at every stage.
1. Comprehensive Assessment and Case Selection
Before initiating veneer preparation, clinicians must perform a detailed esthetic and functional evaluation. This includes:
Smile analysis (midline, incisal edge position, gingival contour, buccal corridor)
Tooth color and morphology
Occlusal scheme evaluation
Periodontal health
Parafunctional habits screening (e.g., bruxism)
Only patients with adequate enamel volume, healthy periodontal support, and realistic expectations are ideal candidates for laminate veneer dentistry.
2. Diagnostic Wax-Up and Mock-Up
A diagnostic wax-up forms the blueprint of the final restoration. It helps guide:
Depth of preparation
Incisal edge positioning
Contour and emergence profile
Patient communication and consent
Using the wax-up, a mock-up is performed intraorally using bis-acryl or flowable resin. This step allows patients to visualize outcomes, and it aids the clinician in defining preparation limits conservatively.
3. Tooth Preparation for Porcelain Veneers
Tooth preparation must be minimally invasive, respecting the enamel structure while creating space for ceramic thickness. The following technique is recommended:
a. Depth Cutting
Incisal third: 0.7–1.0 mm
Middle third: 0.5–0.7 mm
Gingival third: 0.3–0.5 mm
Depth grooves are placed using depth-cutting burs, then unified to ensure even reduction.
b. Facial Reduction
Use a chamfer or shoulder margin with a rounded internal angle. Avoid sharp internal corners to prevent stress concentration within the ceramic.
c. Incisal Preparation
Three options are available:
Window preparation (no incisal reduction)
Feather edge (minimal incisal reduction)
Incisal overlap (1.5–2.0 mm reduction; most common for strength and esthetics)
d. Proximal Extension
Extend into interproximal areas without breaking contact unless correcting malalignment or diastemas.
e. Finish Line
The cervical margin should ideally remain supragingival, especially when color masking is not a concern. A 0.3–0.5 mm chamfer is adequate.
4. Isolation and Gingival Management
Proper isolation is critical during both preparation and bonding. Contamination by blood or sulcular fluid compromises the adhesive interface.
a. Retraction Technique
Use retraction cords (single or double-cord technique) to displace gingival tissue.
Hemostatic agents such as aluminum chloride may be applied for bleeding control.
b. Rubber Dam Isolation
Though often challenging in anterior veneer cases, rubber dam isolation is ideal for the bonding phase to ensure a clean field and eliminate contamination.
5. Final Impression or Digital Scanning
After tooth preparation and isolation:
Use hydrophilic VPS impression materials for analog impressions.
Or, scan the prepared teeth using intraoral scanners with high-resolution capture of margins and morphology.
Ensure accurate capture of margins and adjacent soft tissues to facilitate precise lab communication.
6. Try-In and Shade Verification
Upon receiving the veneers from the lab:
a. Try-In Paste
Use glycerin-based try-in pastes that simulate the final cement shade. Evaluate:
Shade match
Marginal fit
Incisal translucency
Midline and incisal plane harmony
b. Adjustments
Minor adjustments to the veneer can be made using fine-grit diamond burs or rubber polishing wheels. Ensure minimal ceramic removal to prevent fracture or opacity changes.
7. Surface Treatment of Veneers
The internal surface of the ceramic must be treated for micromechanical retention and chemical bonding.
Etch with hydrofluoric acid (9–10%) for 15–20 seconds (depending on ceramic type).
Rinse thoroughly and dry.
Apply silane coupling agent for 60 seconds and allow it to air dry.
Follow with a resin adhesive primer if using a multi-step system.
8. Tooth Surface Conditioning
Bonding to enamel is preferred for long-term success. The following protocol is recommended:
Etch enamel and dentin with 37% phosphoric acid (etch-and-rinse) for 15 seconds.
Rinse and gently air dry, leaving dentin moist.
Apply adhesive system according to manufacturer’s instructions (light-cured preferred for veneer bonding due to thinness of restoration).
9. Adhesive Cementation
Use light-cure resin cement to ensure color stability and extended working time. Follow these steps:
Apply the chosen cement to the internal veneer surface.
Gently seat the veneer using controlled pressure; start from the cervical to the incisal.
Remove excess cement using a micro brush or scaler before curing.
Spot-cure for 2–3 seconds to hold the veneer in place.
Floss interproximal contacts before final cure.
Final light-curing: 60 seconds from multiple angles (facial, incisal, palatal).
10. Finishing and Polishing
After cementation:
Use a scalpel blade (No. 12 or 15C) to remove cured resin tags.
Smooth margins with fine-grit finishing burs or silicone points.
Polish ceramic surfaces using ceramic polishing kits (rubber wheels, diamond paste).
Evaluate occlusion in centric and excursive movements; adjust carefully with rubber points.
11. Postoperative Instructions and Follow-Up
Instruct the patient to avoid:
Excessive biting force or parafunctional habits.
Staining agents for the first 48 hours.
Hard foods that may cause microfractures.
Schedule a 24–48 hour review, followed by periodic maintenance every 6 months.
Conclusion
The successful placement of esthetic dental veneers is an art guided by clinical precision and scientific understanding. From conservative tooth preparation to meticulous isolation and adhesive bonding, every step must be executed with discipline to ensure optimal outcomes.
For the prosthodontist or general dentist, mastering this veneer workflow expands clinical versatility and allows for predictable, long-term esthetic rehabilitation.
Recent Articles
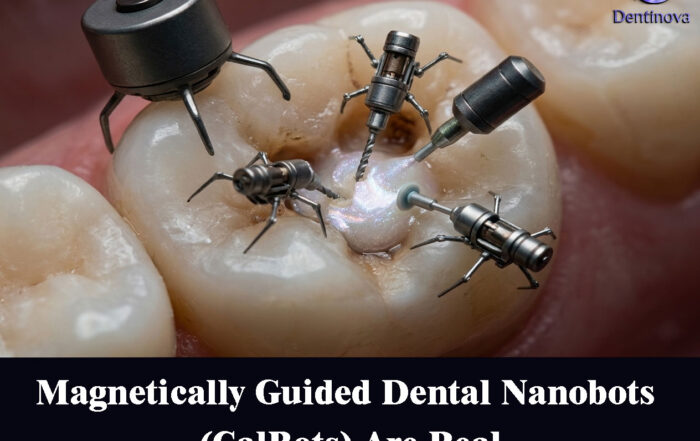
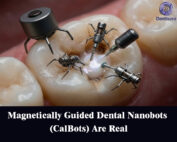
Magnetically Guided Dental Nanobots (CalBots) Are Real
Magnetically Guided Dental Nanobots (CalBots) Are Real The concept of nanobots in dentistry has long been associated with futuristic speculation. However, recent peer-reviewed research [...]
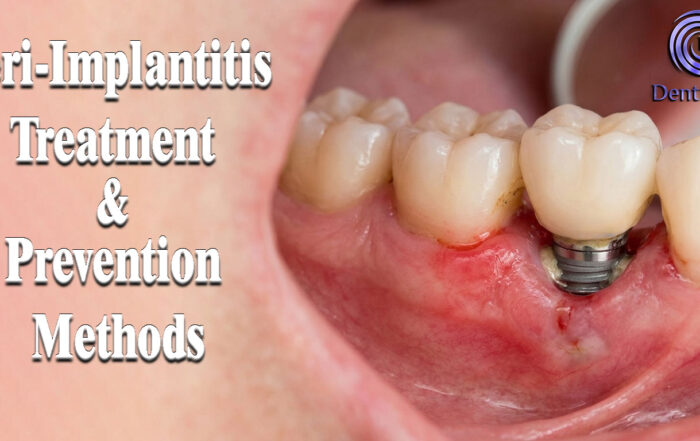
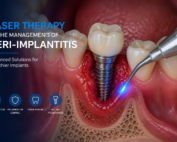
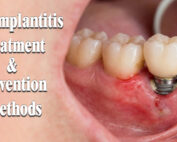
Peri-Implantitis Treatment & Prevention Methods
Peri-Implantitis Treatment & Prevention Methods Peri-implantitis remains one of the most significant biological complications affecting dental implants, posing a serious threat to long-term implant [...]
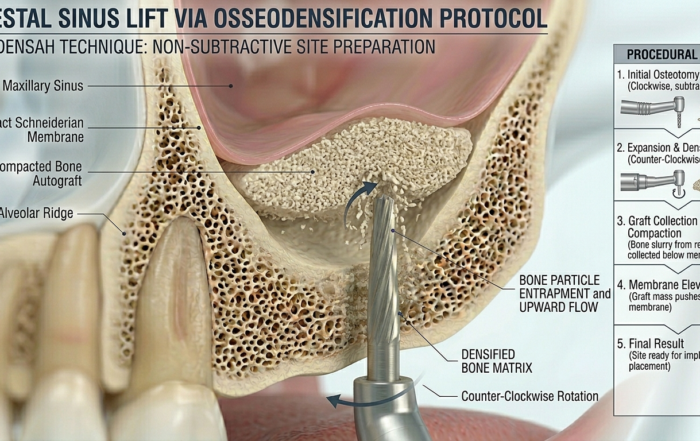
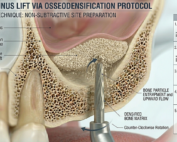
Latest Sinus Lifting Techniques in Modern Implant Dentistry
Latest Sinus Lifting Techniques in Modern Implant Dentistry A Comprehensive Clinical Review Introduction to Sinus Lifting in Implantology Sinus lifting, or maxillary sinus floor [...]
Biomechanics of the Triple Abutment & BOPiT Concept
Dental Biomechanics · Implant Science · Clinical Evidence Biomechanics of the Triple Abutment & BOPiT Concept How a saddle-shaped mathematical surface is rewriting the rules of load distribution [...]
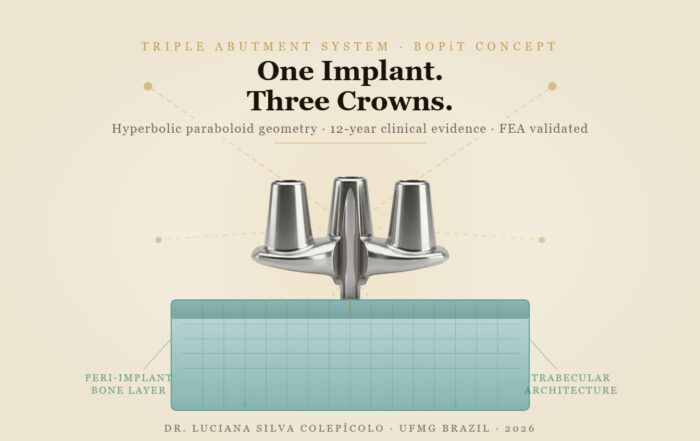
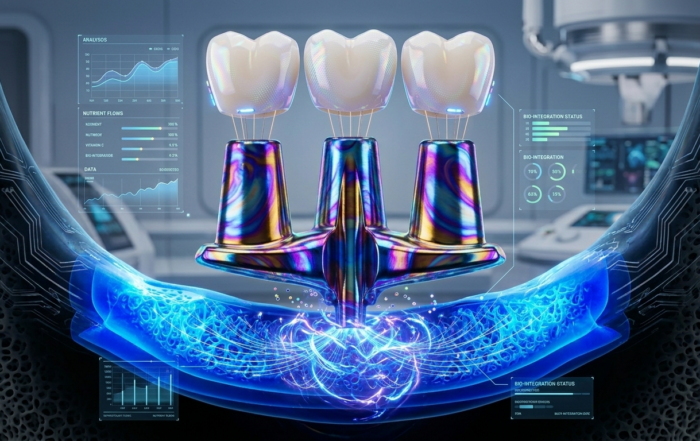
The Woman Who Proved One Implant Could Hold Three Crowns
The Woman Who Proved One Implant Could Hold Three Crowns While the dental establishment looked away, Dr. Luciana Colepícolo spent 12 years building the [...]
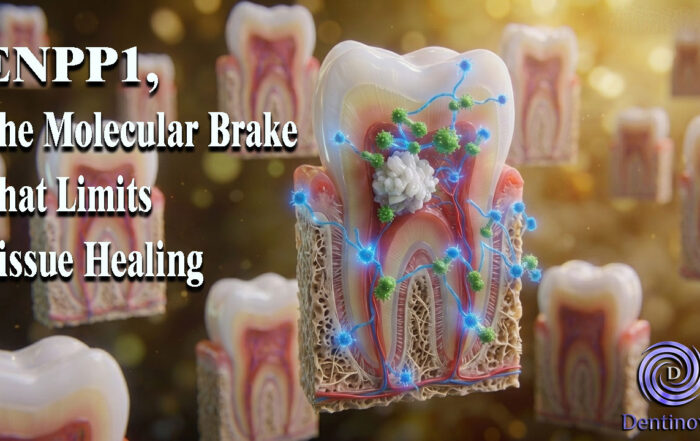
ENPP1, The Molecular Brake That Limits Tissue Healing
ENPP1, The Molecular Brake That Limits Tissue Healing Introduction: A New Biological Barrier to Dental Regeneration Meet ENPP1—a protein most dentists have never heard [...]